word中的「信封及標籤」功能可以讓您輕鬆製作信封,不用為了調整文件版面及資料格式而煩惱,製作步驟如下:
一、
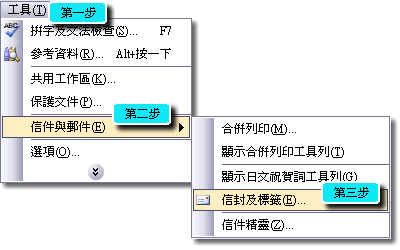
點選「工具」/「信件與郵件」/「信封及標籤」,即可開啟「信封及標籤」視窗。
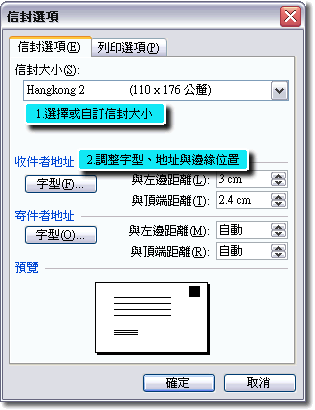
二、輸入相關資料:將收件者及寄件者資料輸入完成後,按「信封及標籤」視窗上的「選項」鈕,開啟「信封選項」視窗,切換至「信封選項」頁框。 
三、調整選項中「信封選項」頁面的各項設定。
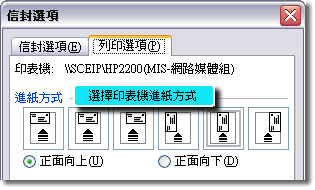
四、切換至「列印選項」頁面並調整其中設定。
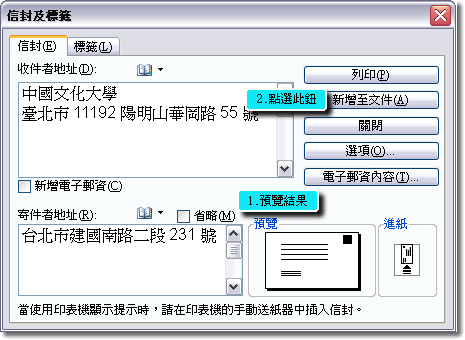
五、點選「確定」鈕,回到前頁後點選「新增至文件」。
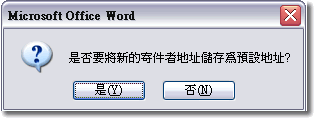
出現詢問「是否要將新的寄件者地址儲存為預設地址?」的對話框,點選「是」則下次開啟「信封及標籤」視窗時會自動將寄件者地址匯入。
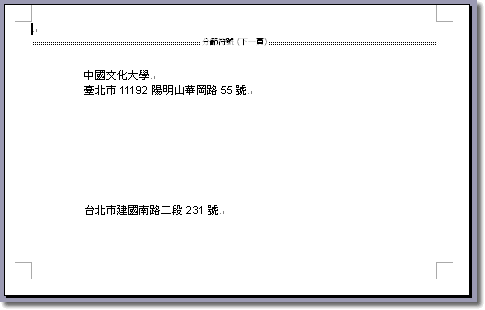
六、設定完成畫面。
|